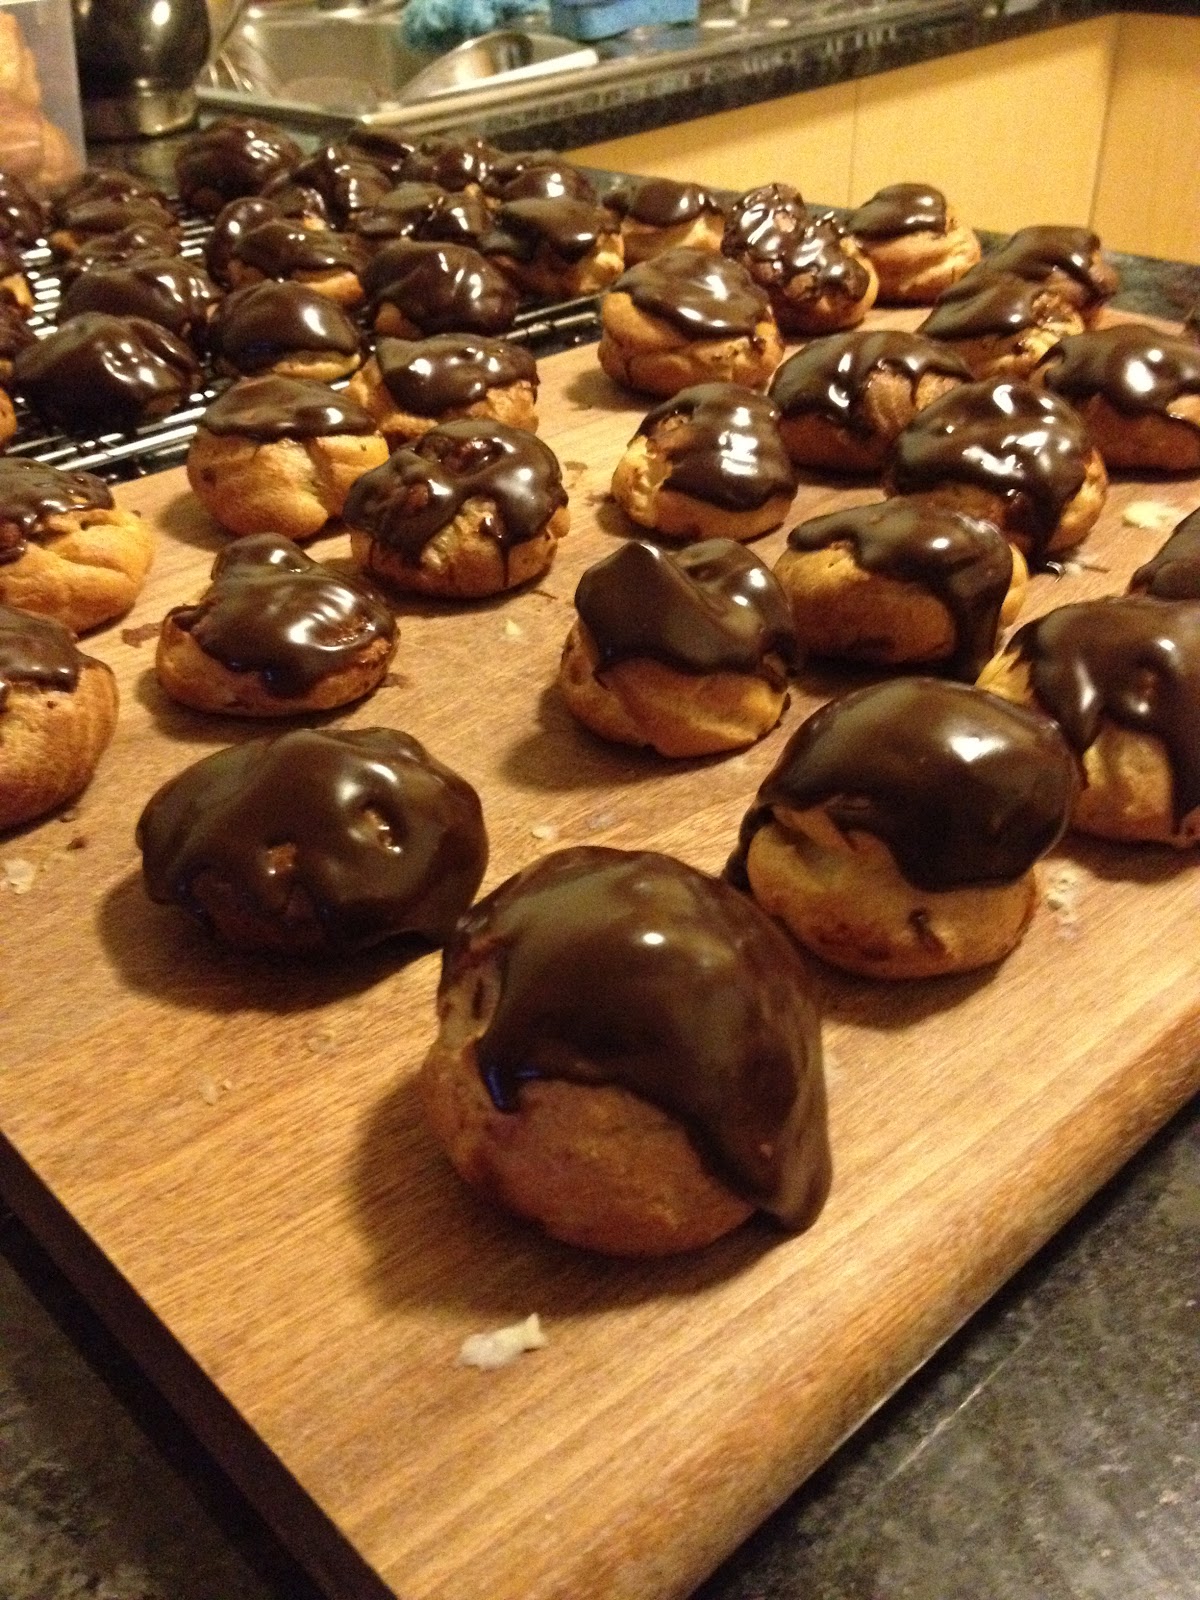
 I recently went on a holiday to Paris and whilst there did a few cooking classes just for fun. The classes we did covered classic French desserts such as crème brulee, we also learnt how to make croissants and chocolate éclairs, among many other things! This recipe was originally for chocolate éclairs but is the same recipe for chocolate profiteroles, just a different shape.
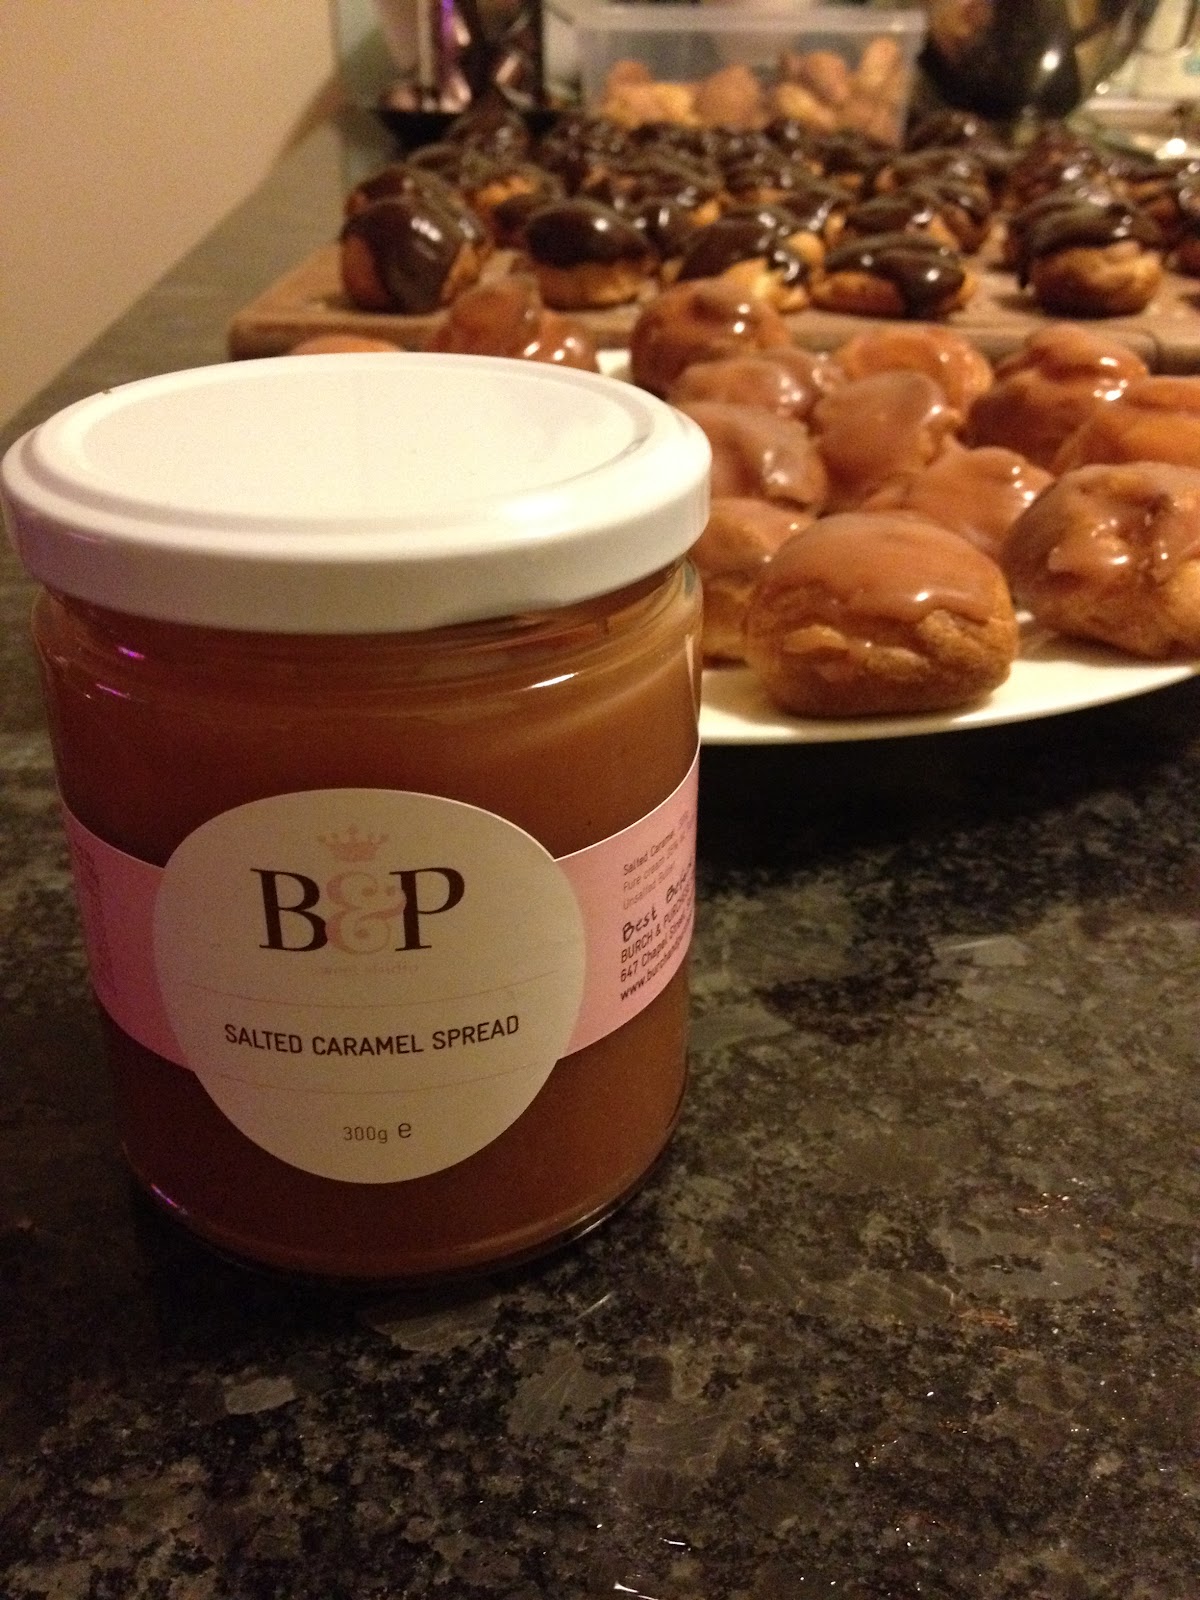 They turned out much better when we made them in the class so they just
take practice to get looking perfect, but they should taste good if you follow
this recipe! I’ve tried a few of the other recipes I learnt over there and will
hopefully share them all soon! The school we went to was called Cook’n with Class in case you are planning a trip, I would highly recommend them.
They turned out much better when we made them in the class so they just
take practice to get looking perfect, but they should taste good if you follow
this recipe! I’ve tried a few of the other recipes I learnt over there and will
hopefully share them all soon! The school we went to was called Cook’n with Class in case you are planning a trip, I would highly recommend them.
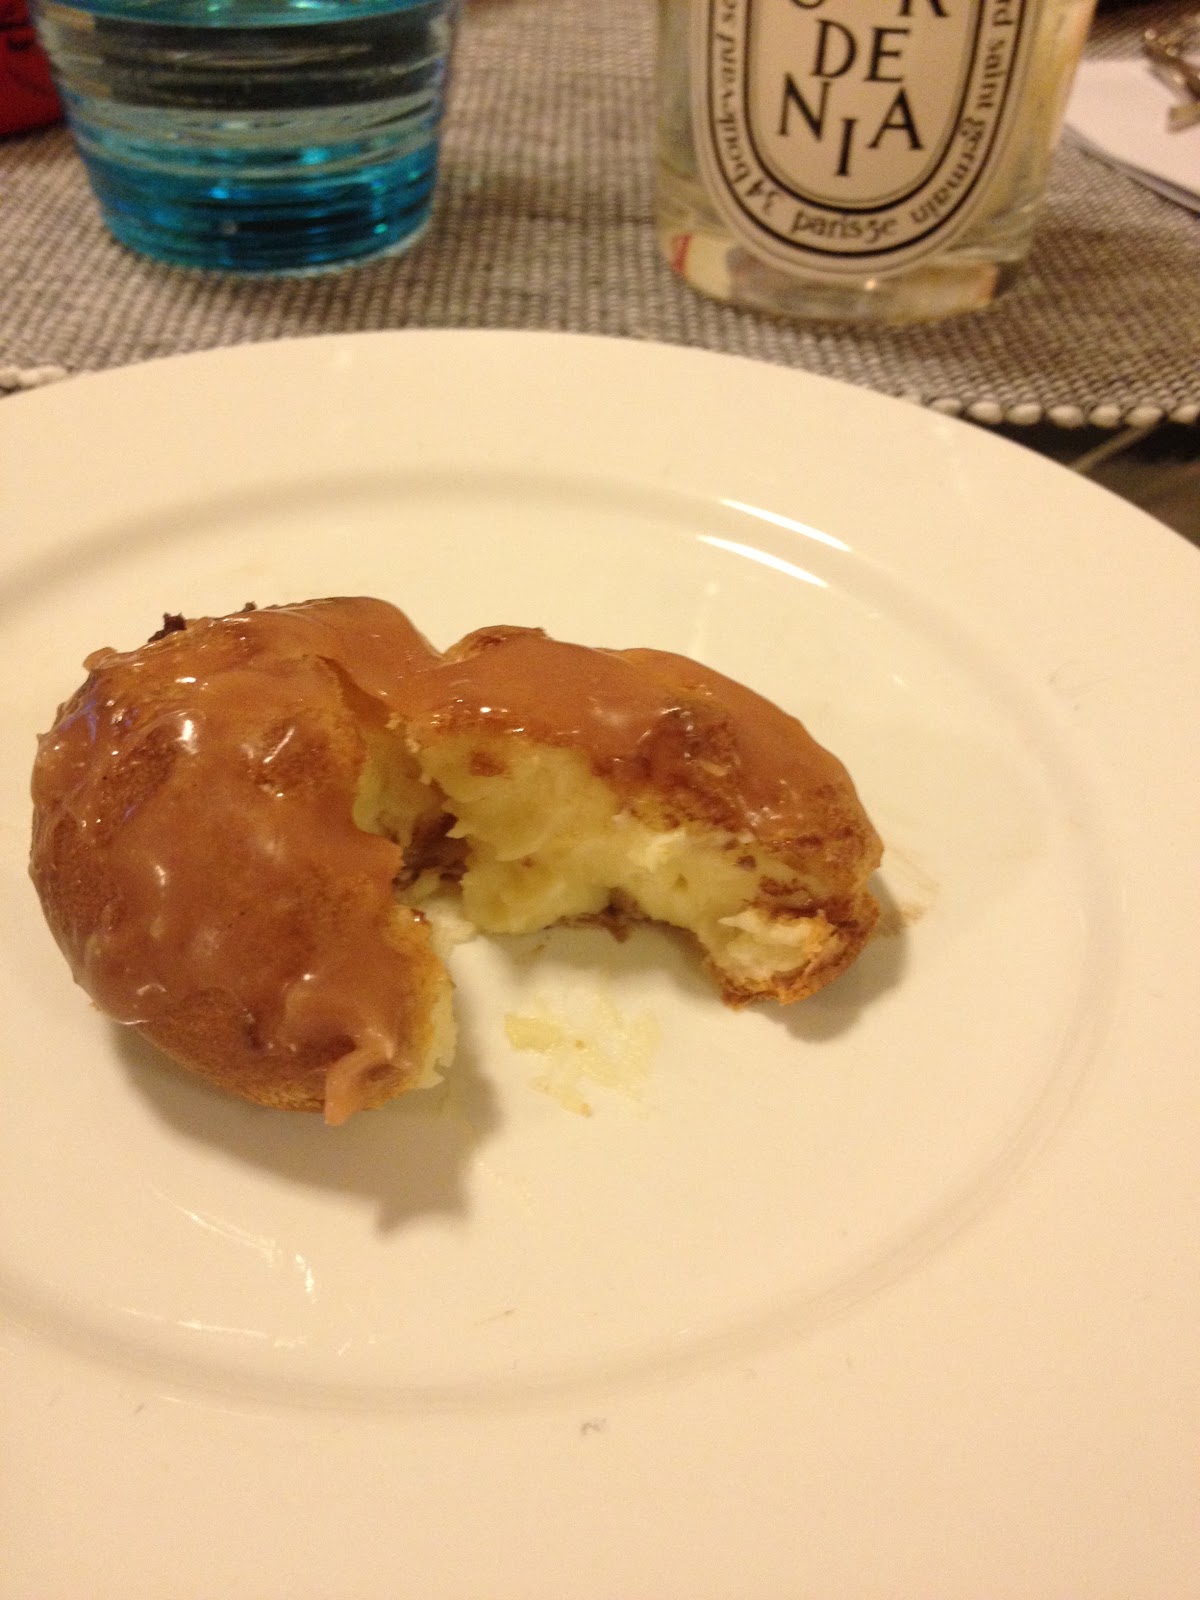
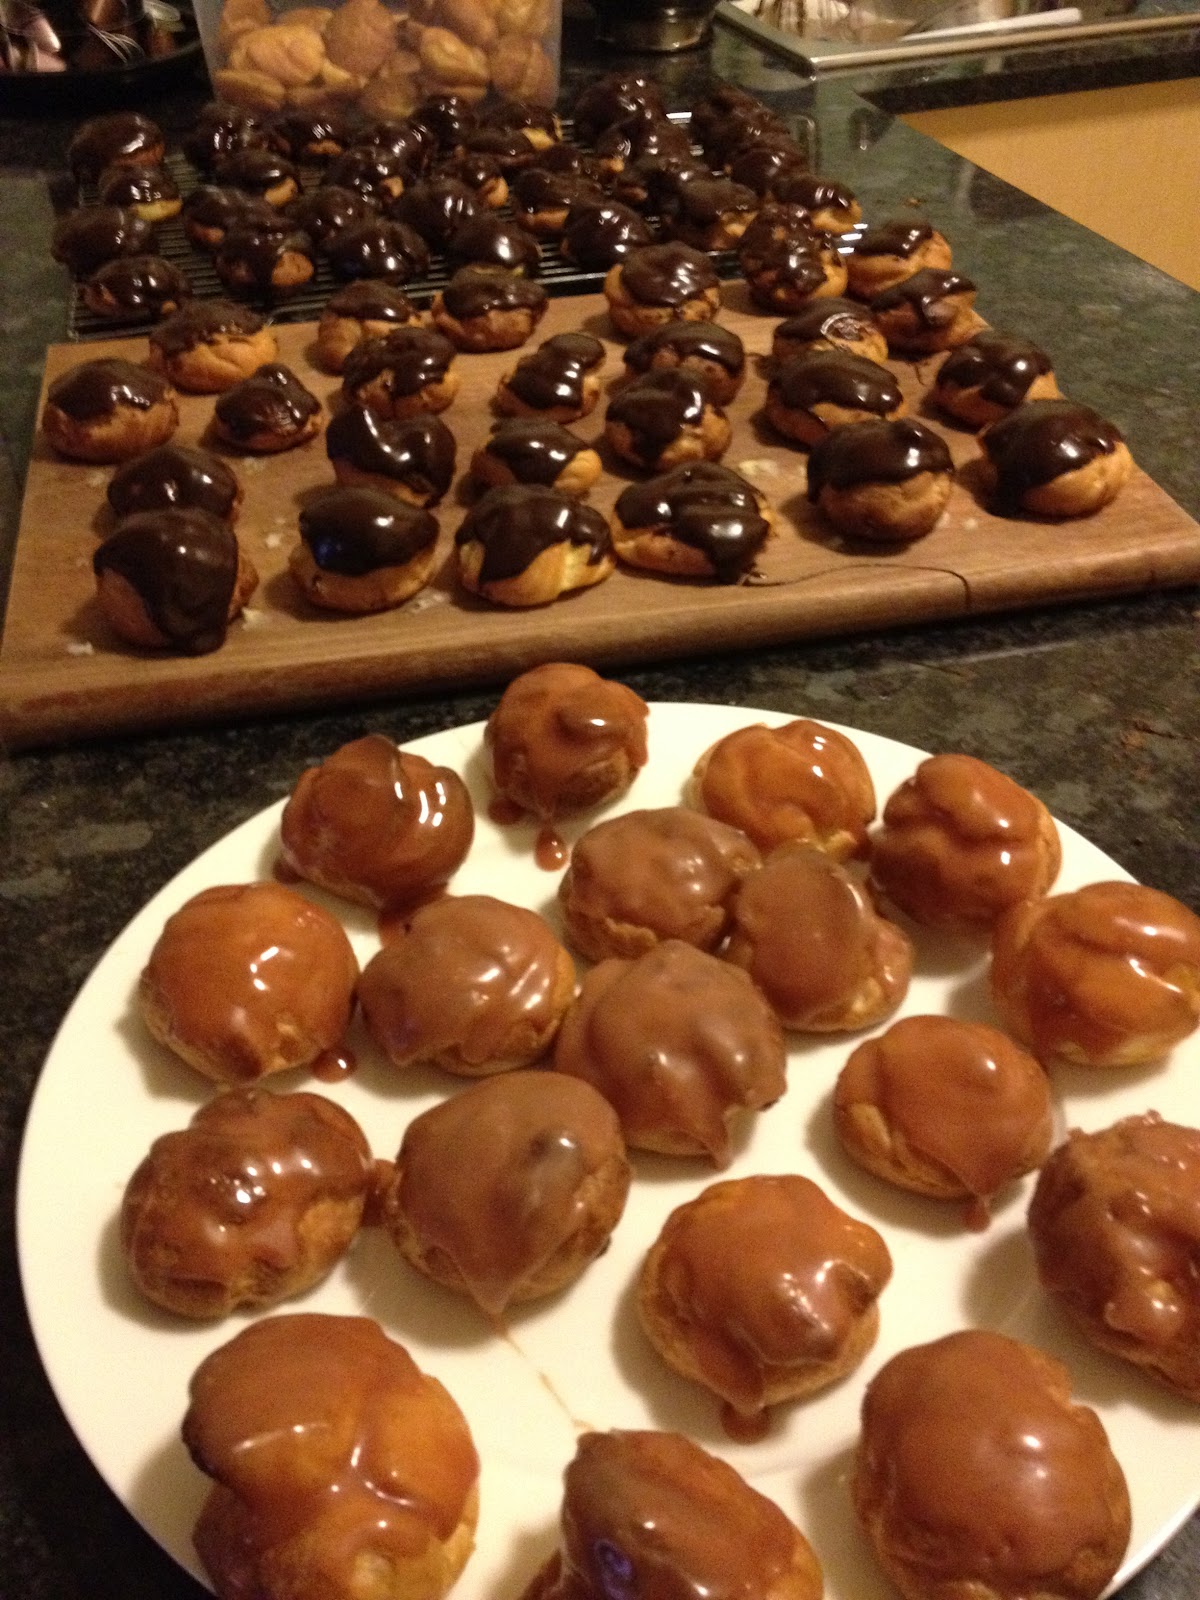
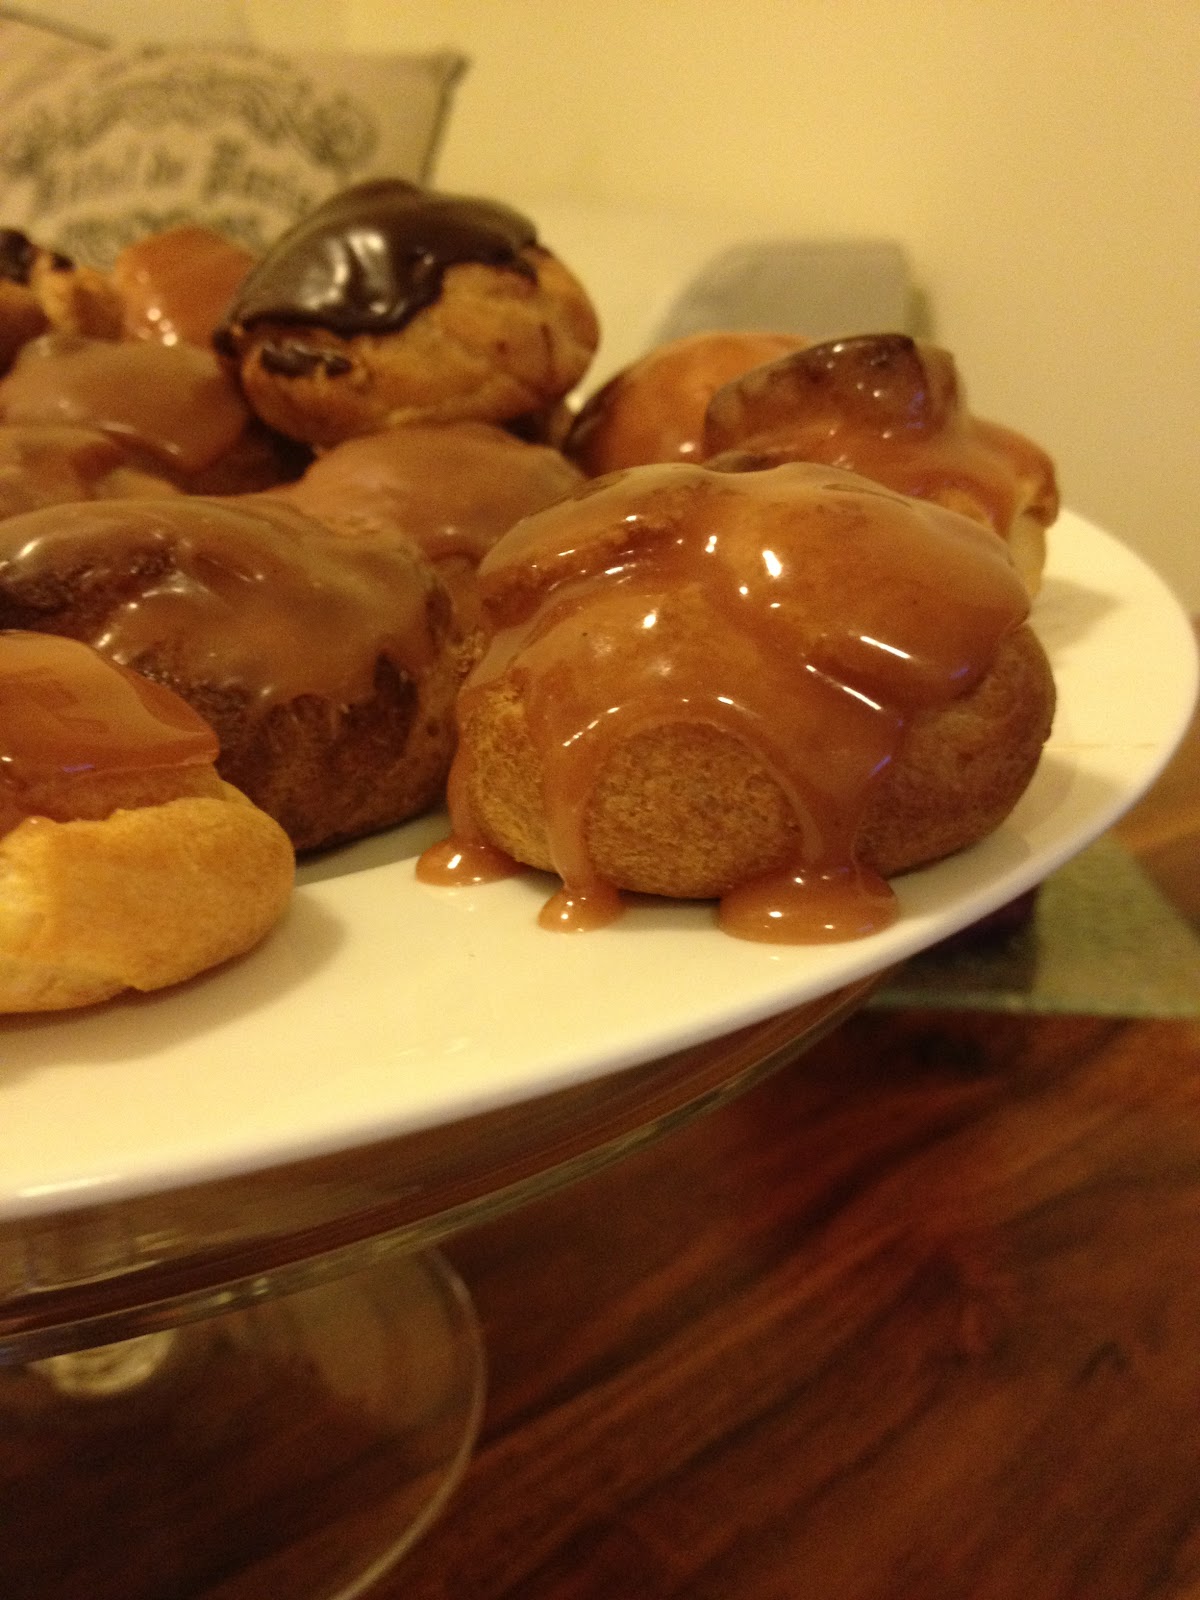
You can make a variety of flavours by adding chocolate or vanilla etc
to the pastry cream and mixing up the toppings. The day I made these I had been
cake shop browsing and bought a salted caramel spread from B&P. It was a
delicious find and can be used with almost anything! I made half chocolate and
half vanilla pastry cream and halved the recipe for the chocolate glazing so
that the chocolate filling had chocolate icing and vanilla filling had salted
caramel topping. And as a warning this recipe makes a heap of profiteroles!

INGREDIENTS
Choux Pastry
200g water
200g milk
180g unsalted butter
8g caster sugar
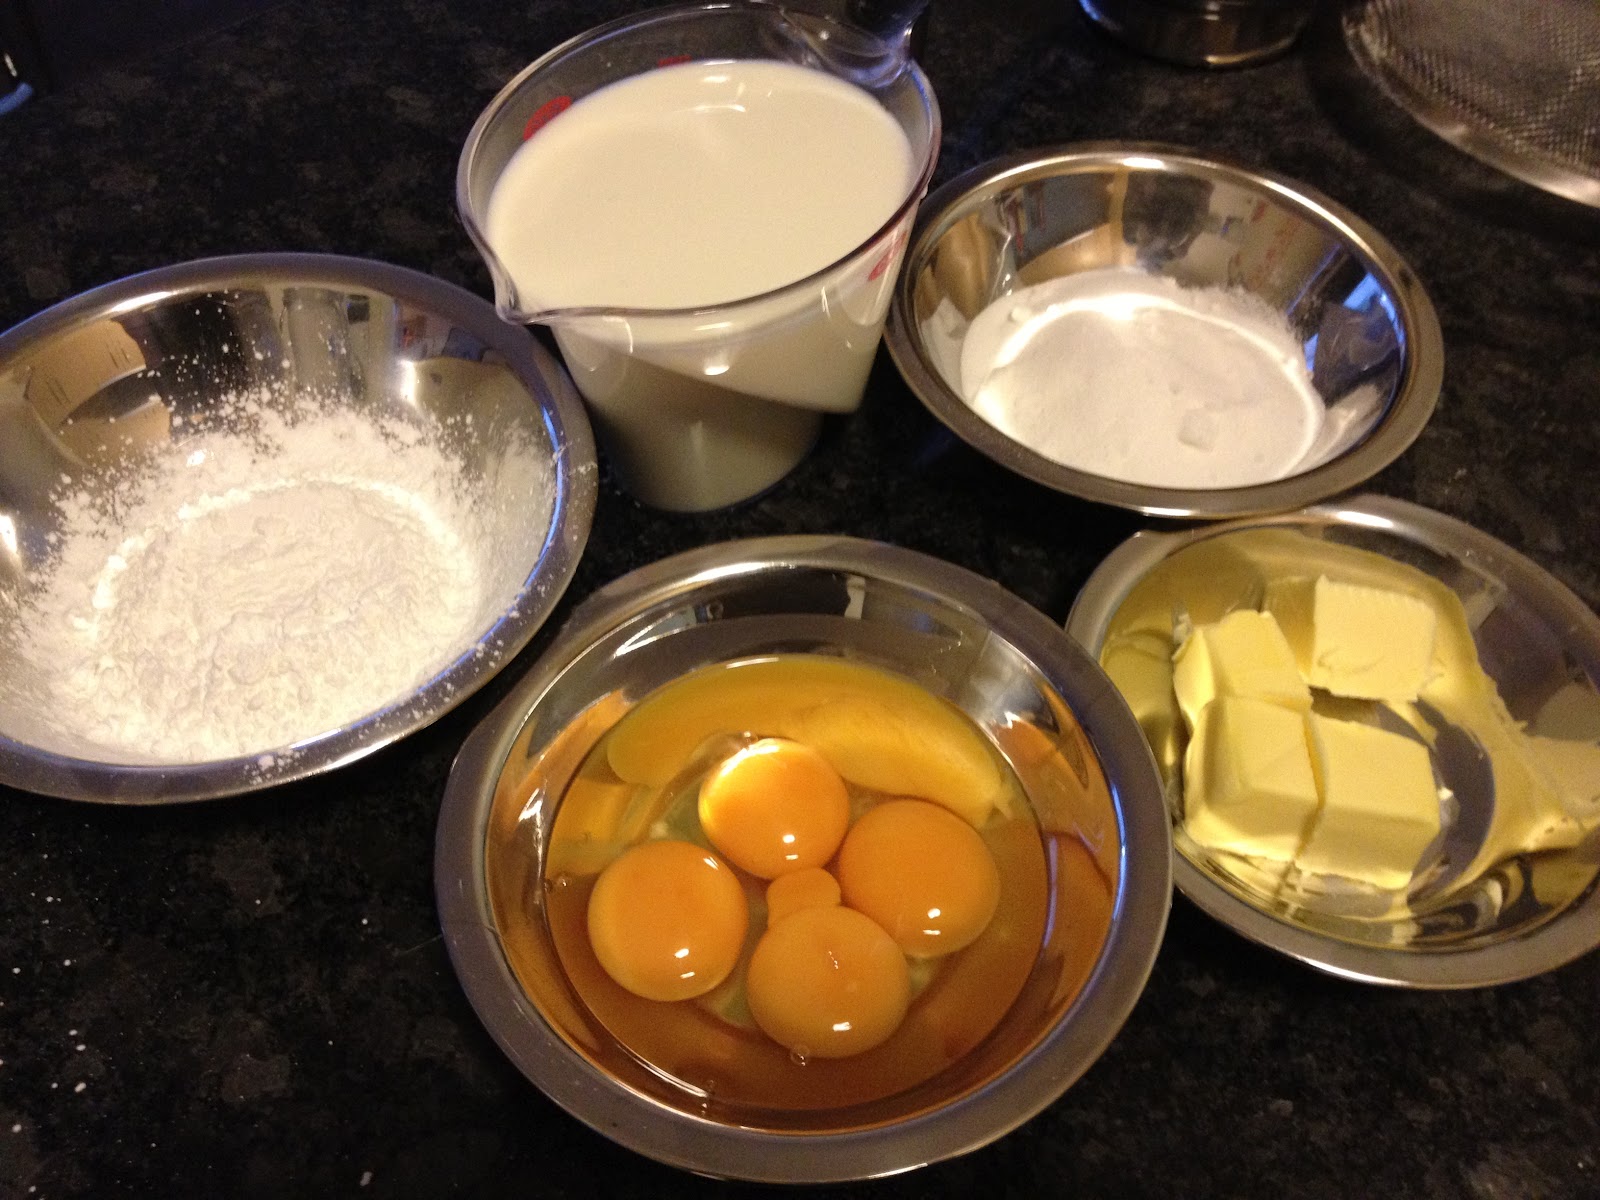 4g salt
220g plain flour
400g eggs
Chocolate Pastry Cream
½ Litre milk
60g corn flour
90g sugar
1 egg
 4 egg yolks
60g unsalted butter
180g dark chocolate
Hard Chocolate Glaze
240g dark chocolate, cut into small pieces
90g liquid glucose
90g water
240g caster sugar
METHOD
Choux Pastry
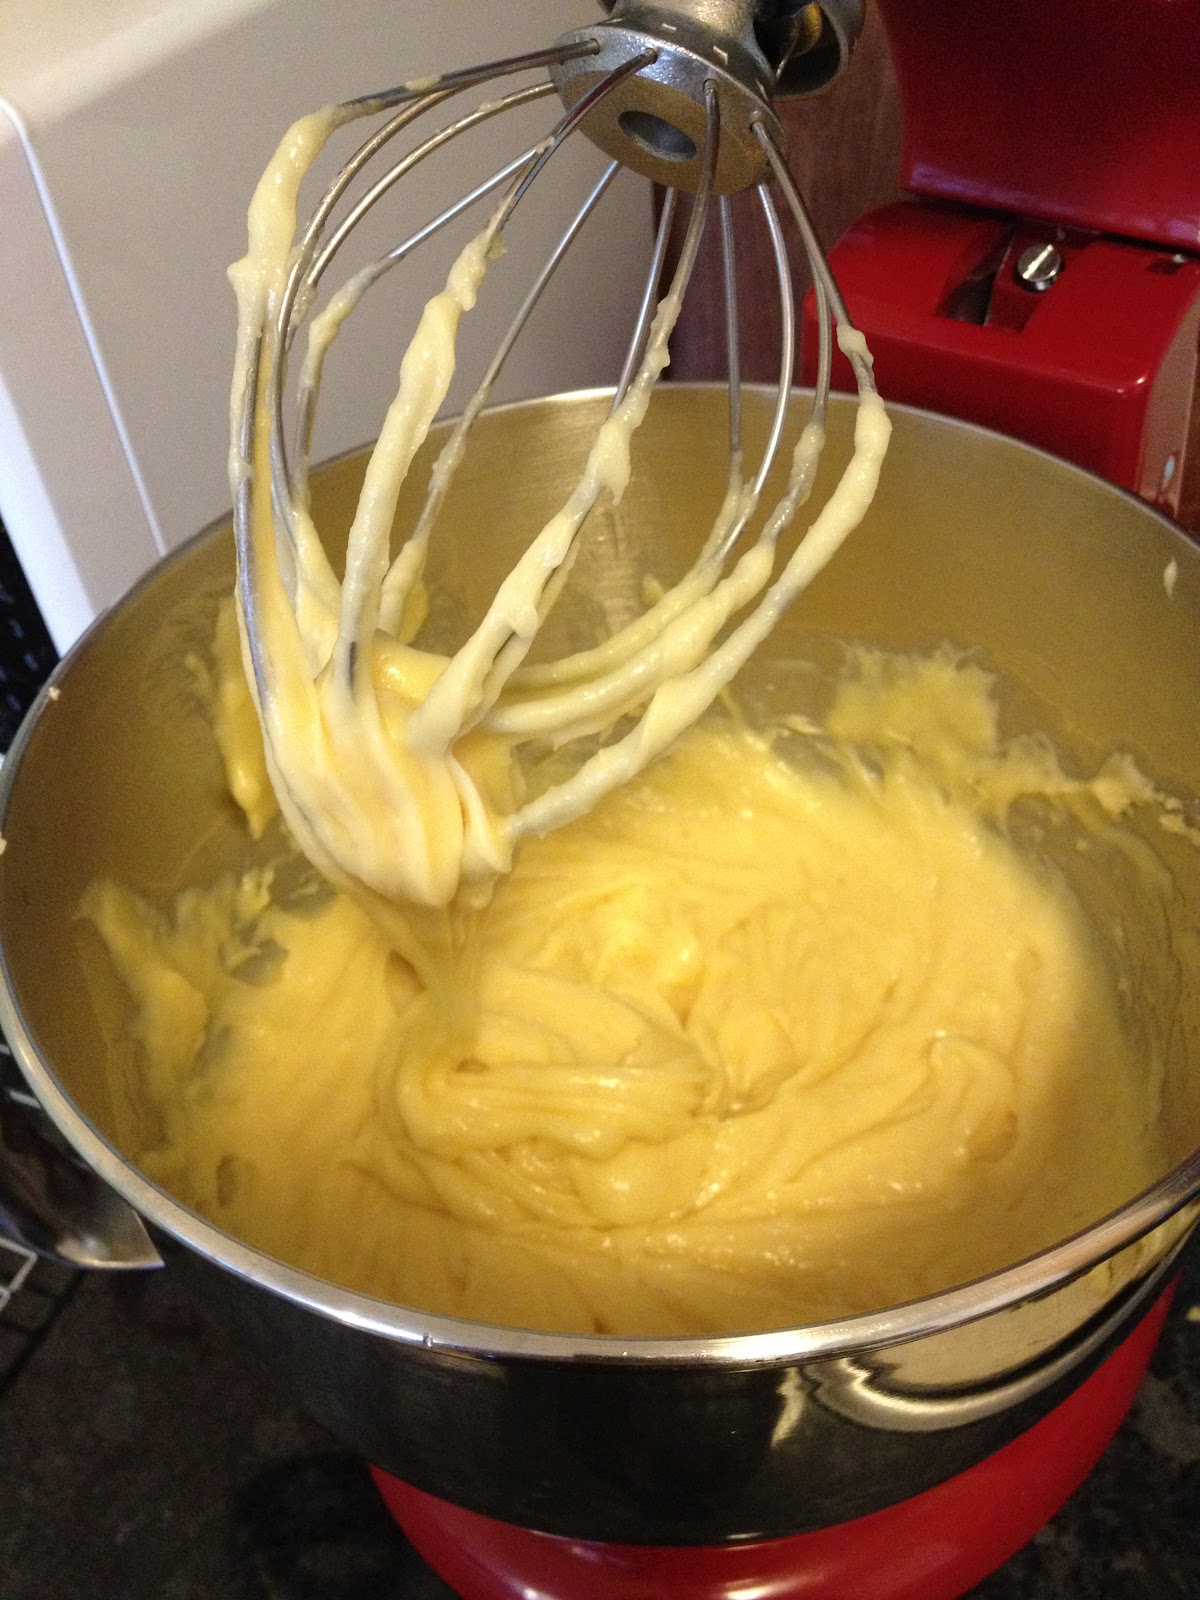
1. Combine water, milk, butter, sugar and salt in a large pot over
medium heat, bring to boil and make sure butter is fully melted.
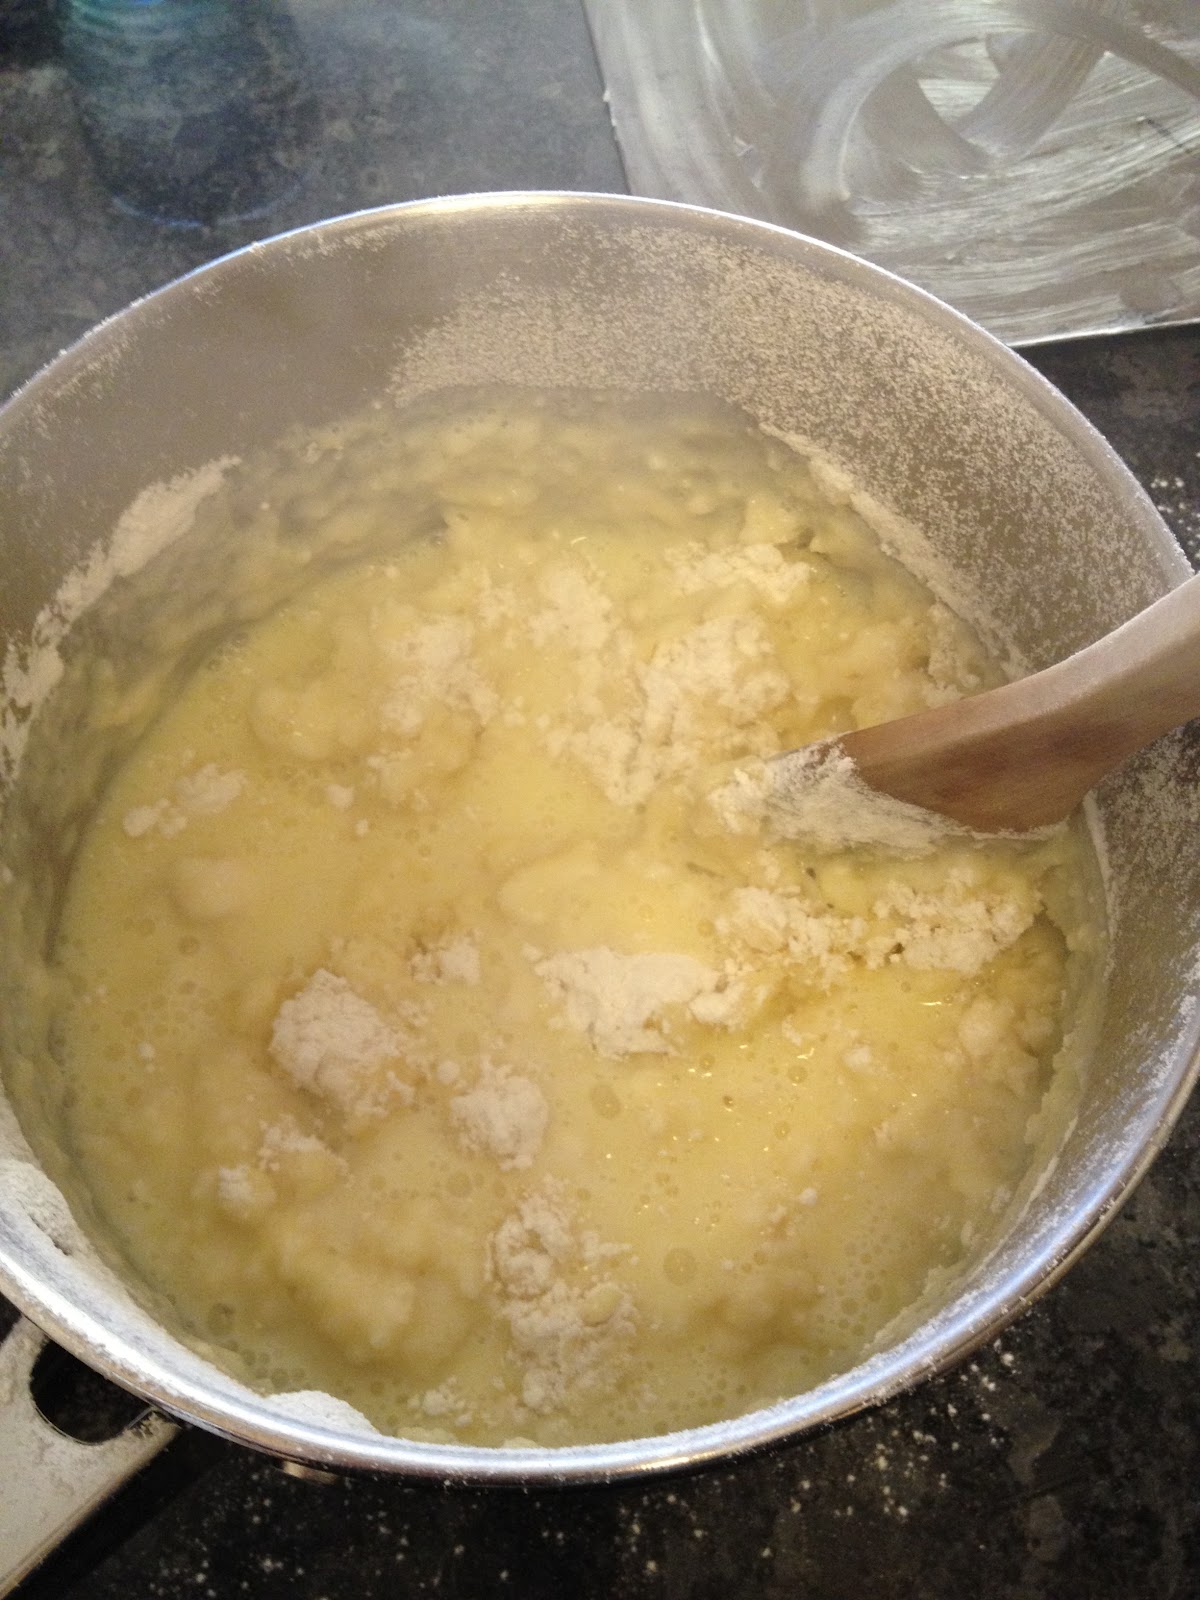
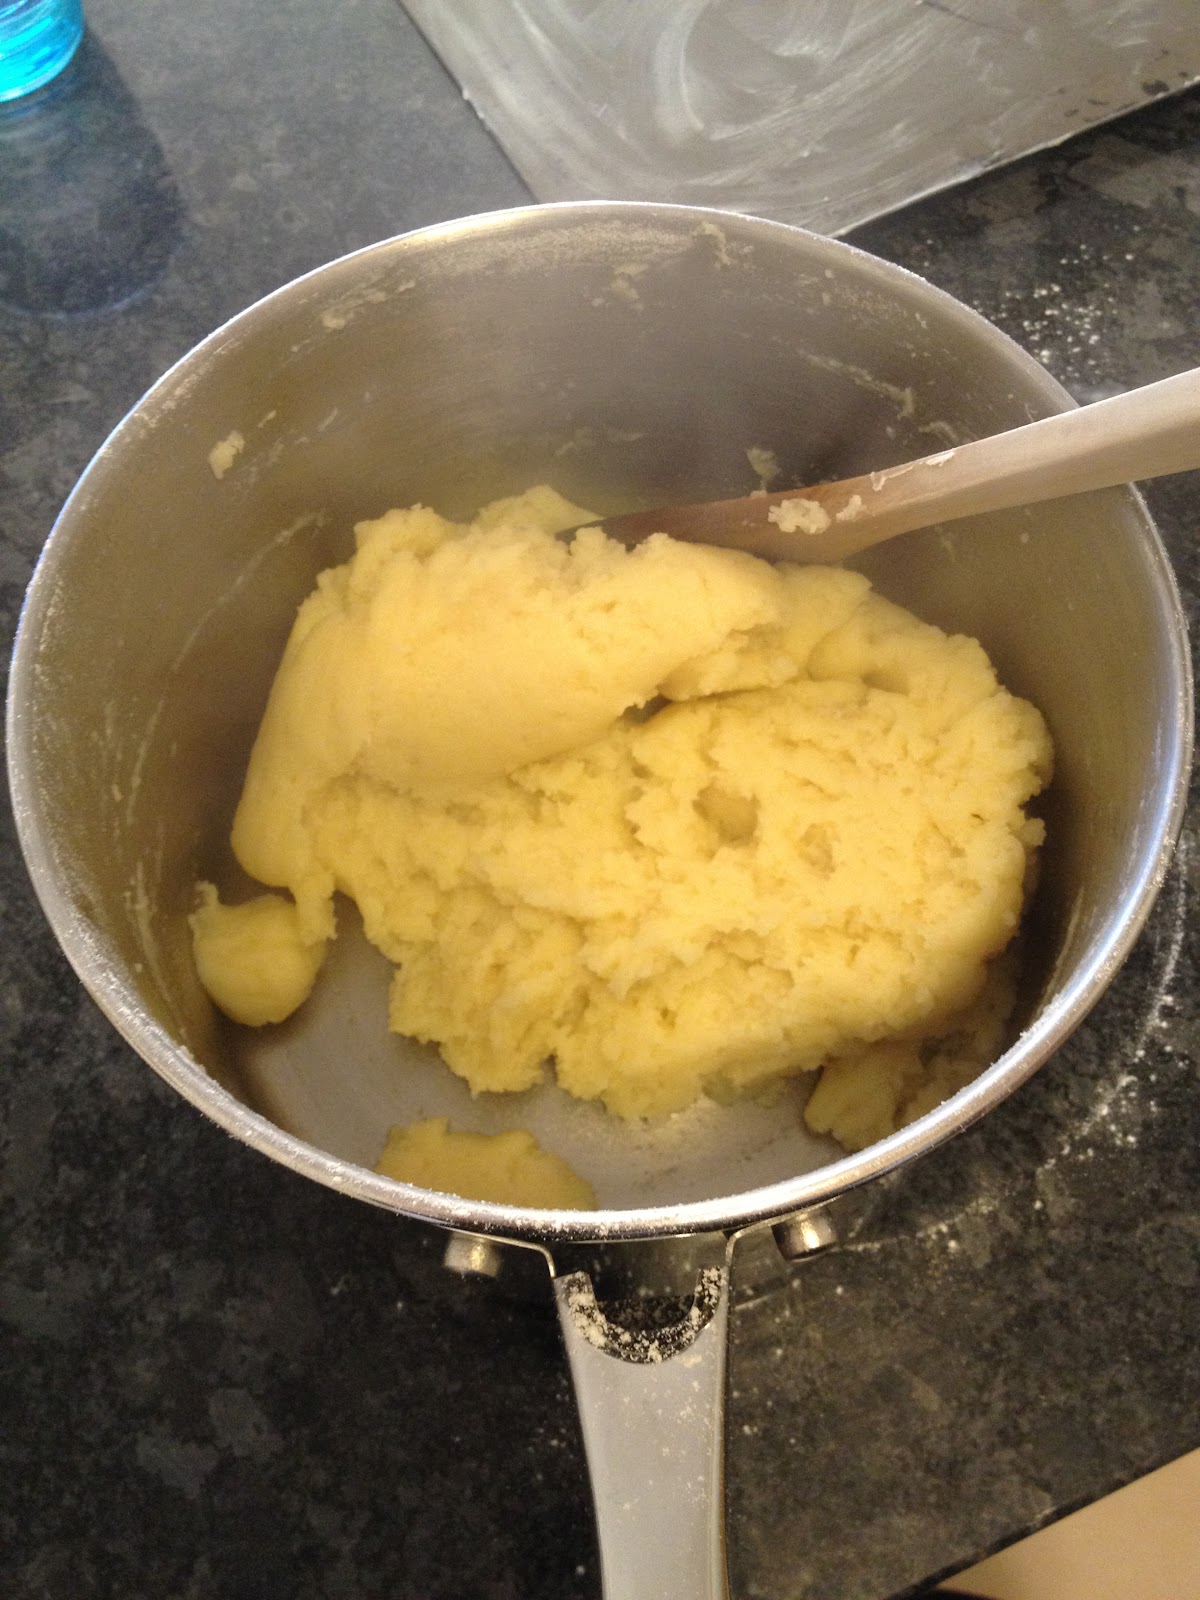
2. Off the heat add all the flour at once and stir until smooth and no
longer sticks to the sides of the pan. It will go lumpy look a bit like mashed
potato.
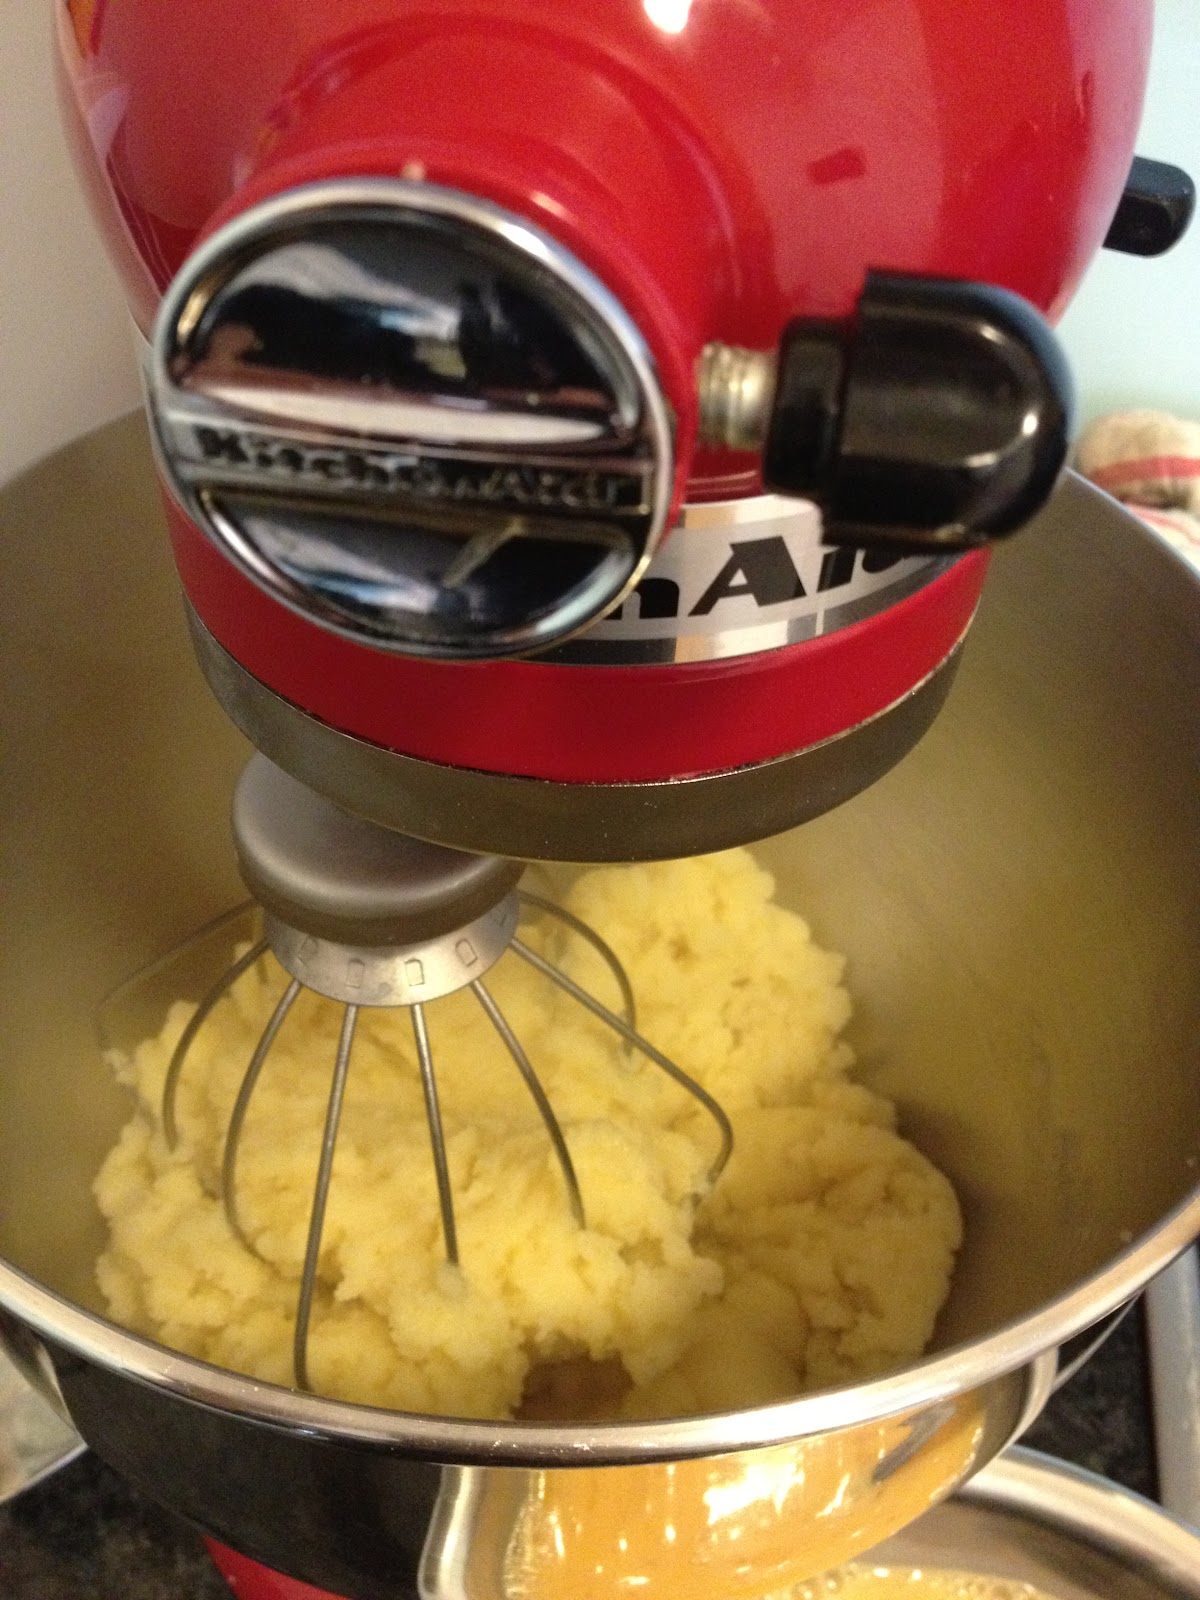
3. Transfer the dough to a stand-up mixer fitted with the whisk and
while whisking on low speed gradually incorporate the eggs.
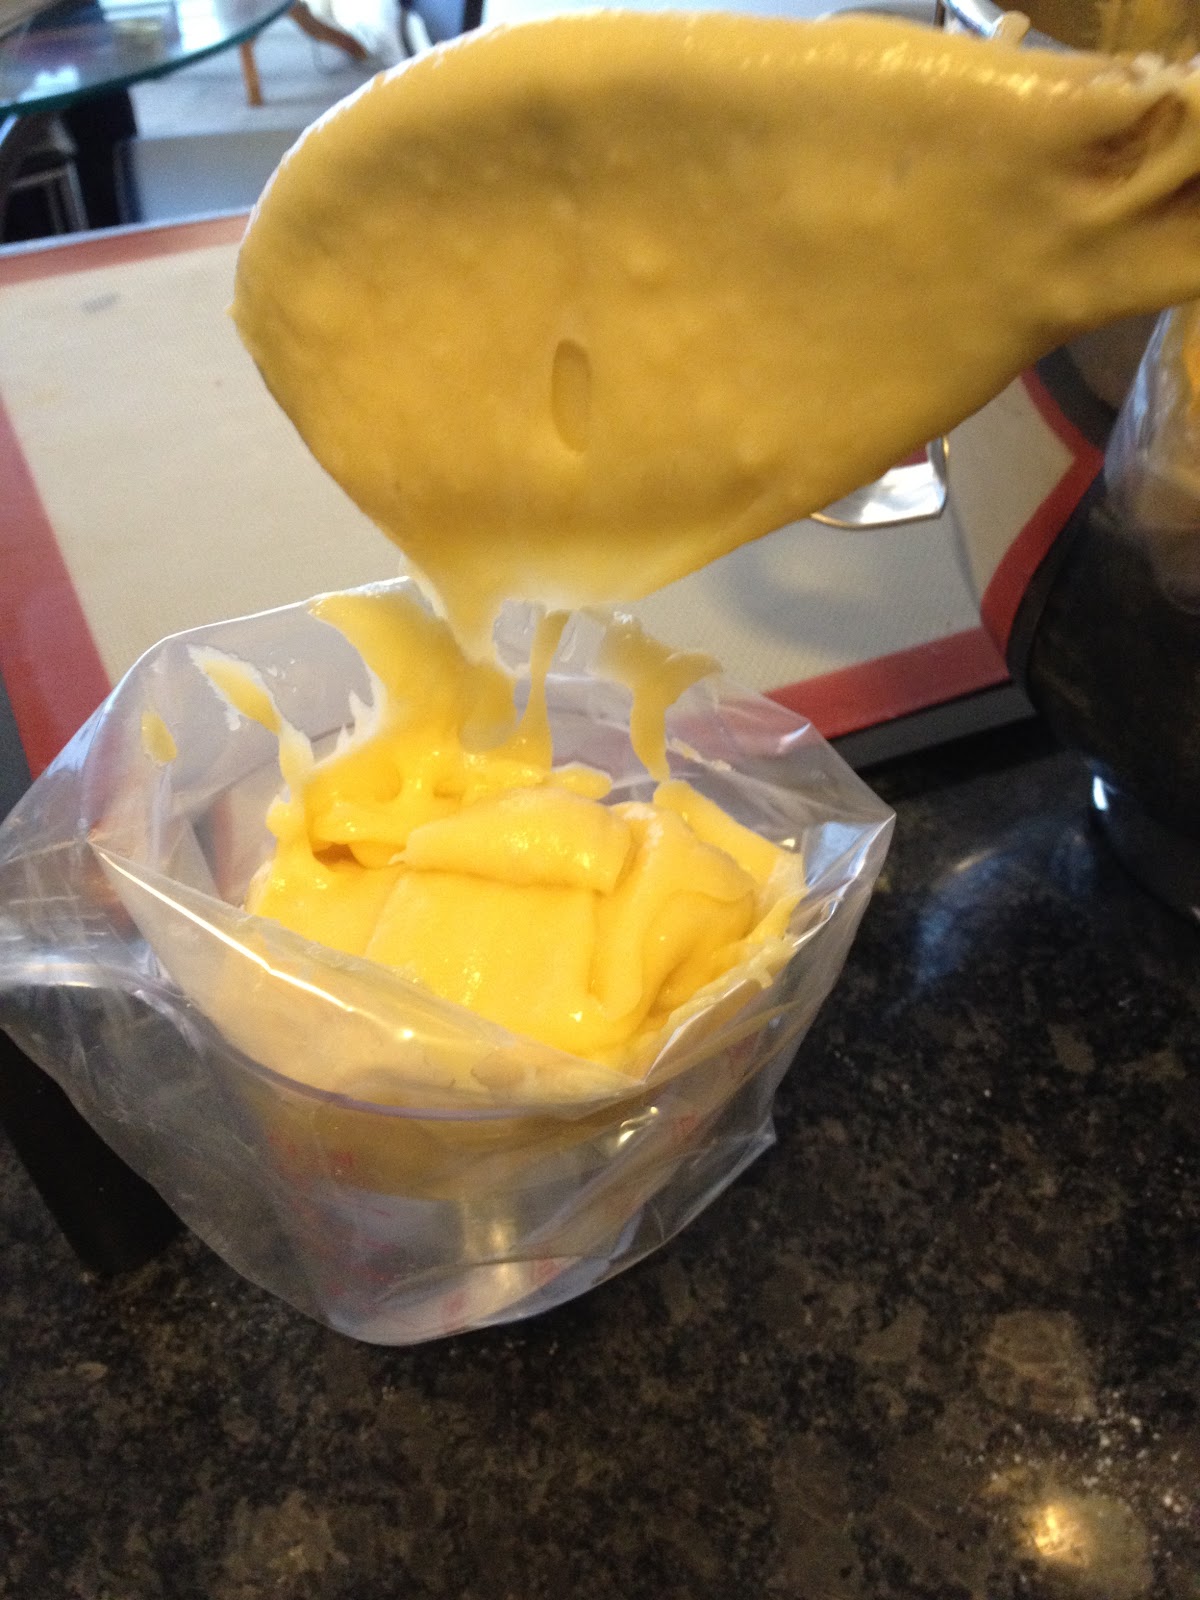
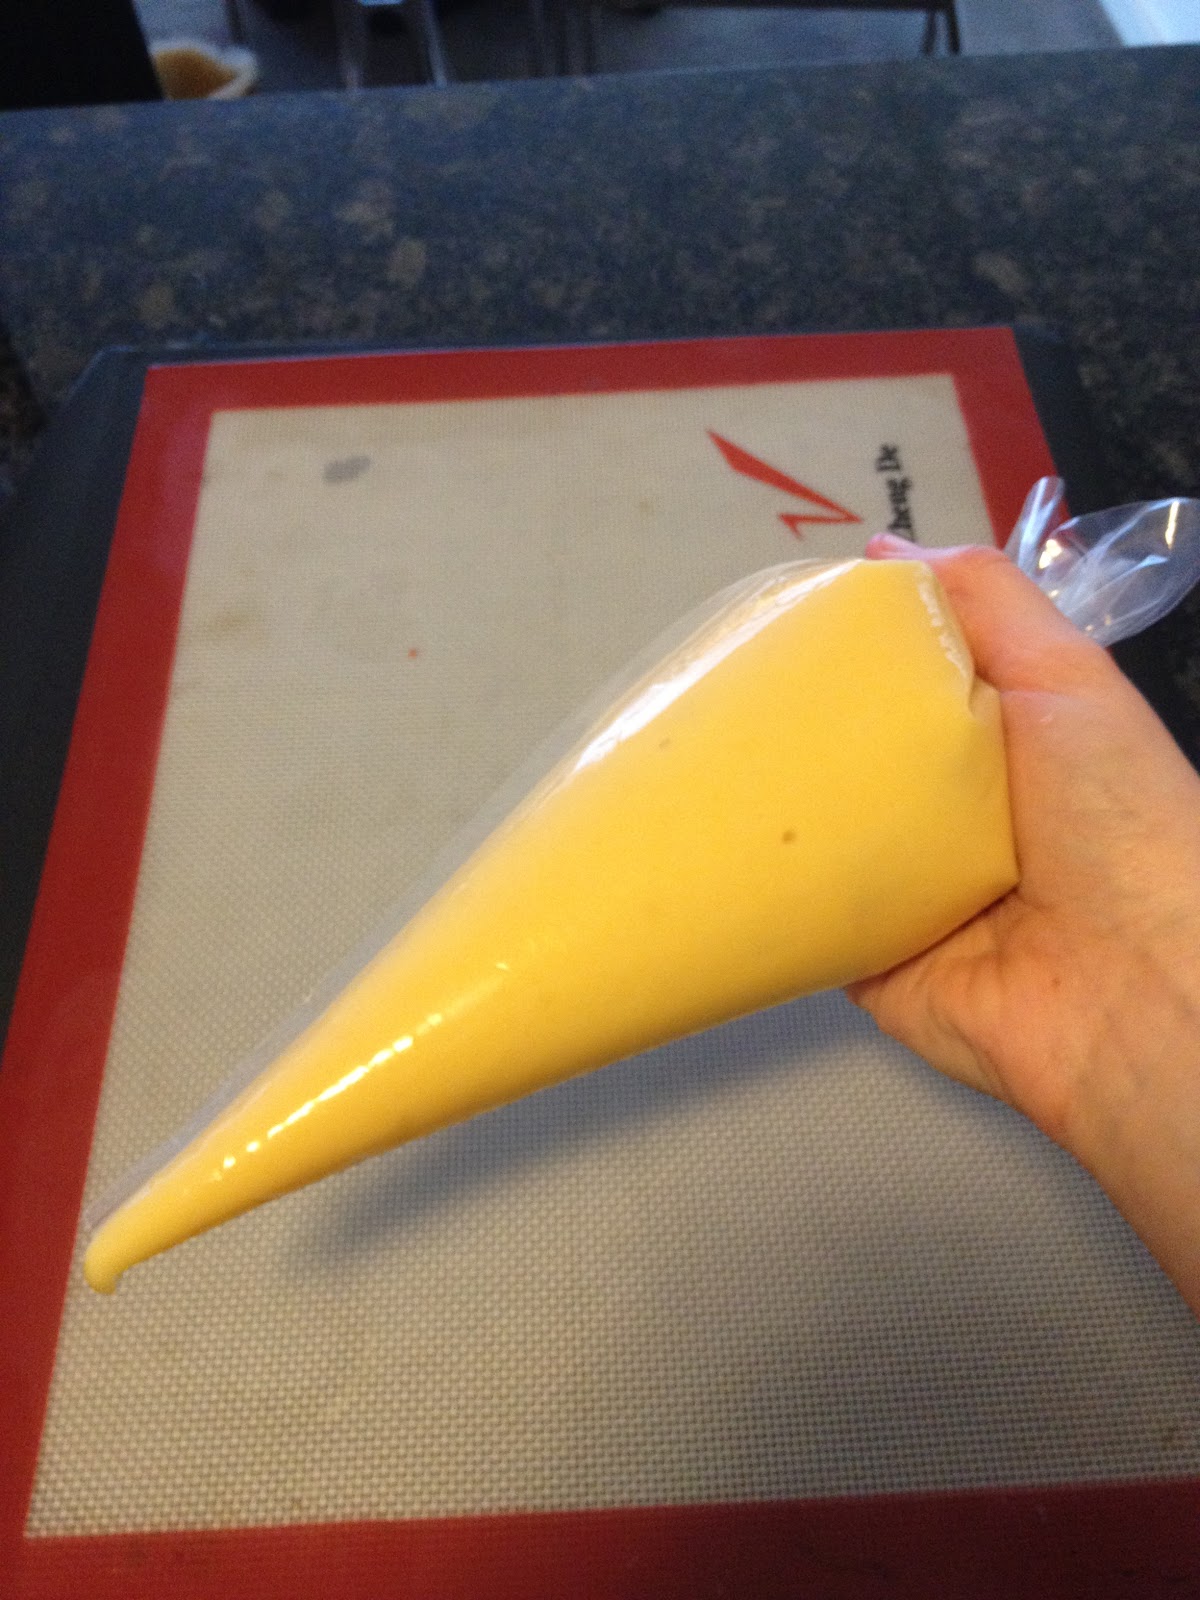
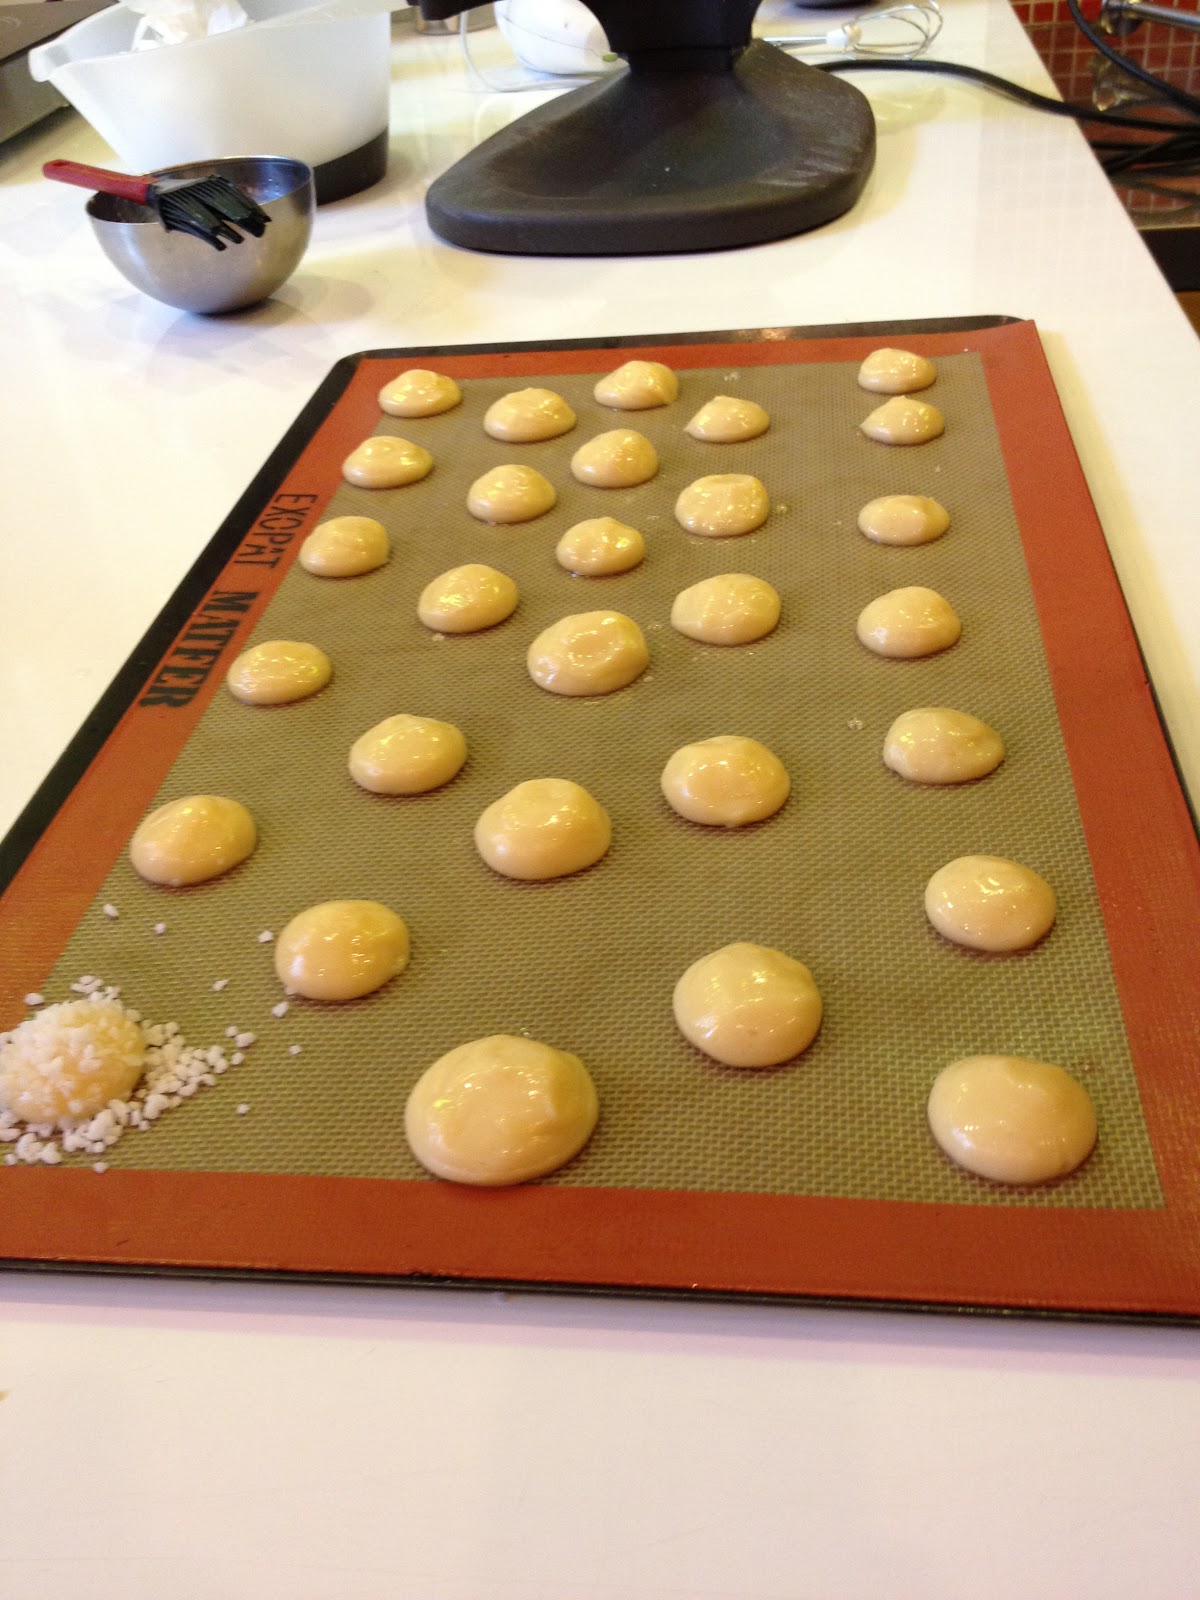
4. Transfer the mixture to a piping bag and pipe golf ball sized rounds
spaced evenly apart on a lightly buttered baking tray or silpat (avoid using
baking paper).
5. Bake in preheated oven at 200 degrees Celsius for 20 minutes or
until well risen and golden, then lower the temperature to 100 degrees Celsius
and let bake until dry for about 10 minutes but be careful not to let them
burn, keep the oven door slightly open if necessary.


Chocolate Pastry Cream
1. Dissolve corn flour in ¼ cup of the milk.
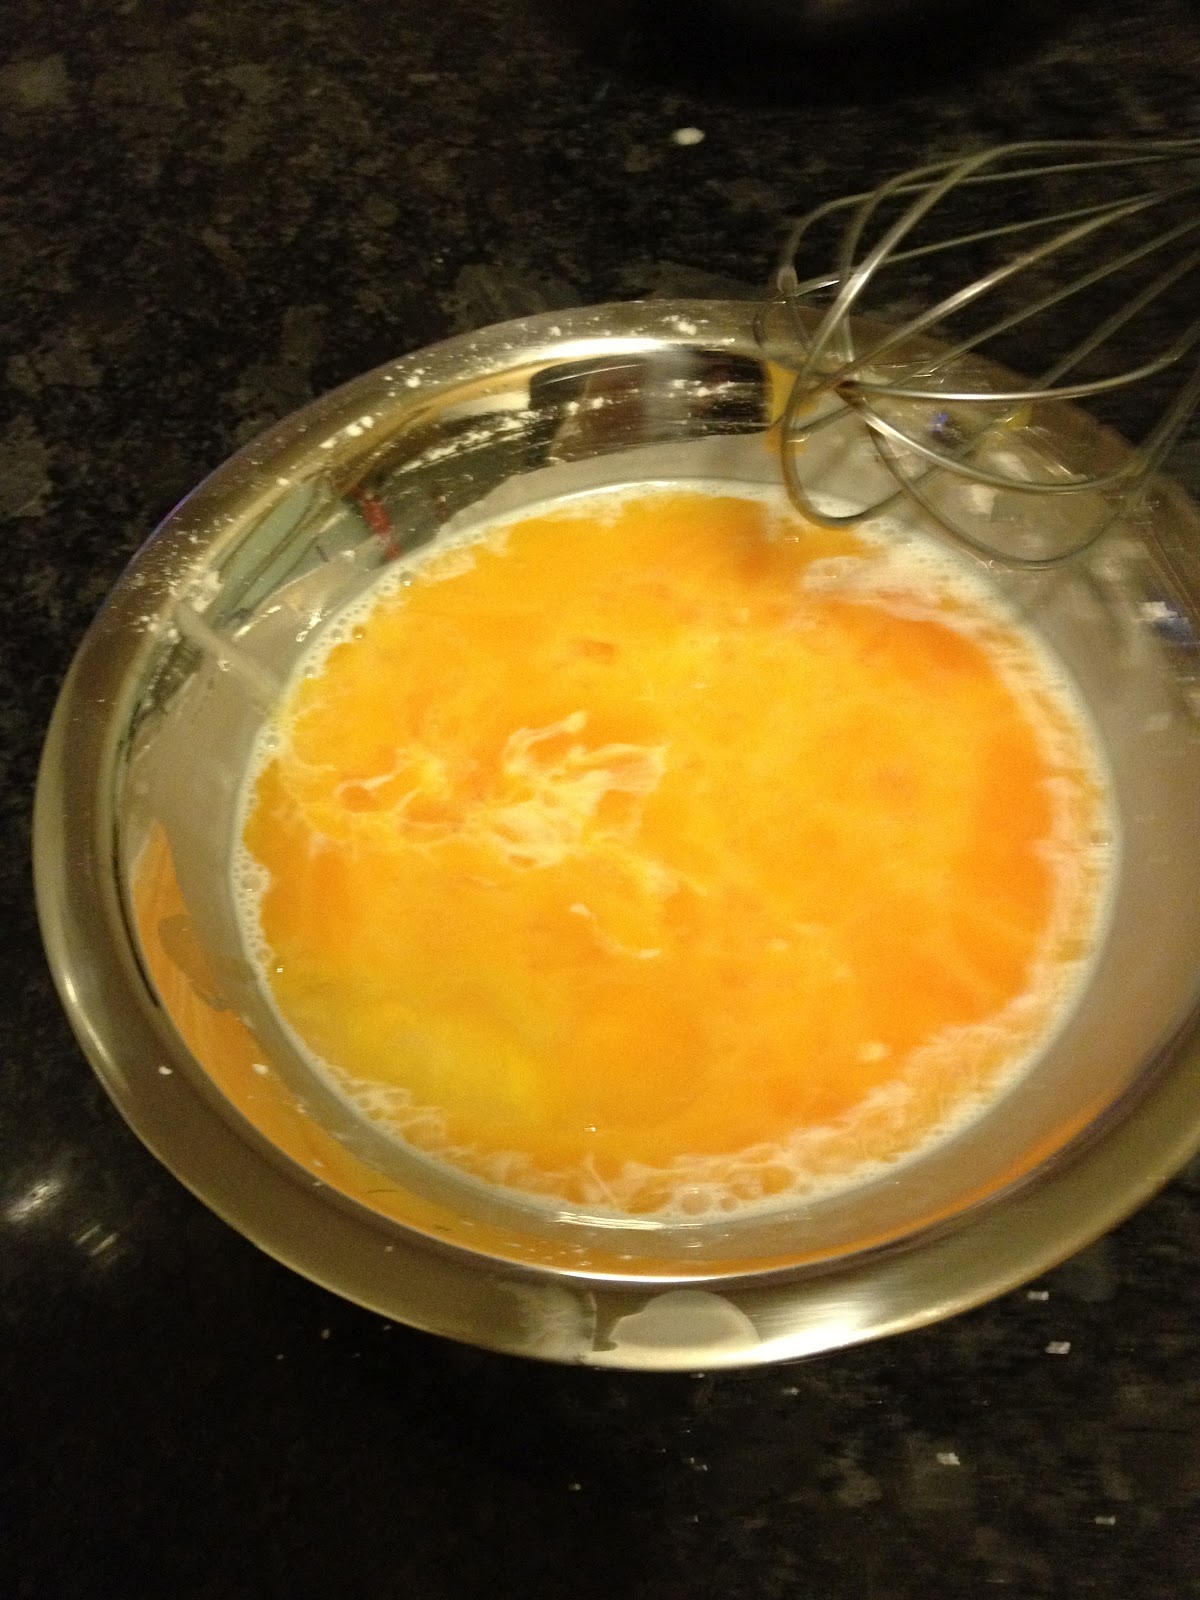
2. Whisk eggs into the corn flour mixture.
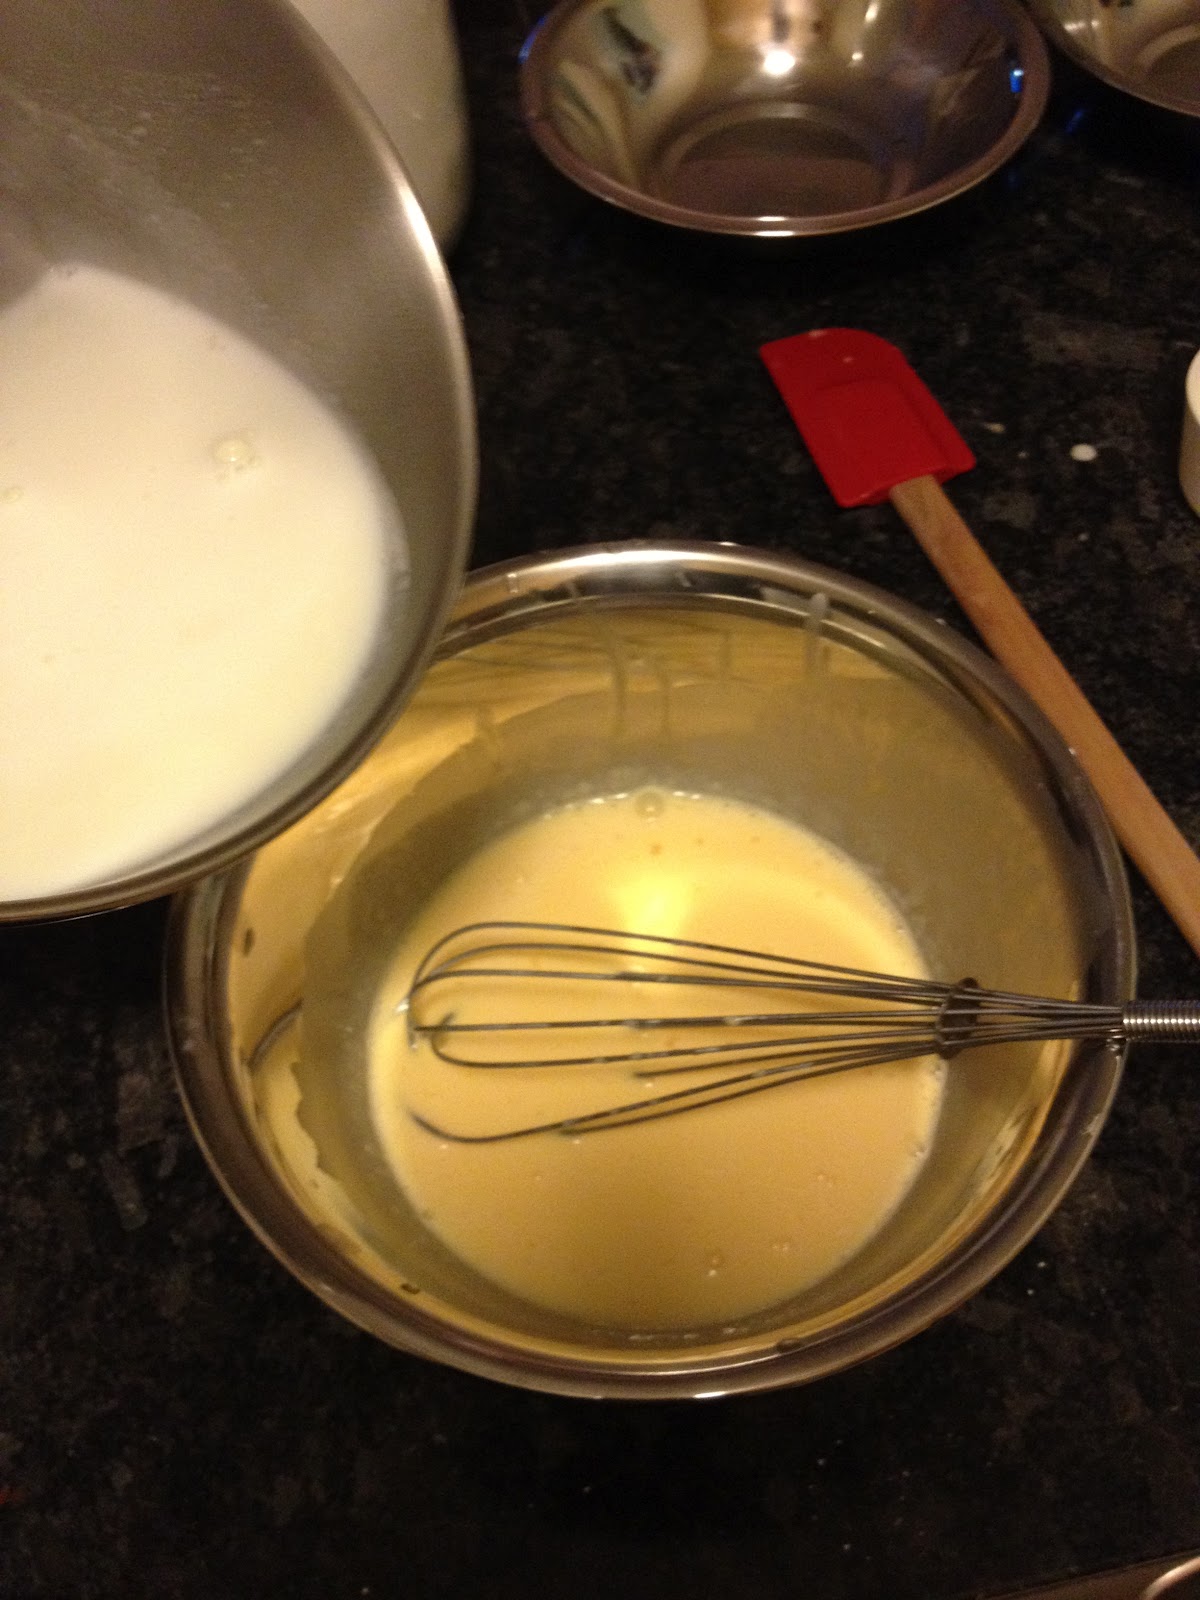
3. Combine rest of the milk with the sugar in a saucepan and bring to
the boil.
4. Pour 1/3 of the boiling milk over the eggs whisking constantly, then
add it back to the milk mixture in the saucepan and return to heat.
5. Boil for 1 minute whisking constantly until the mixture thickens.
6. Remove from the heat and whisk in butter and chocolate.
7. Transfer to a plate or container and cover with glad wrap, pressing
it directly onto the cream and chill immediately.
8. Once chilled and you are ready to fill the pastries whisk the cream
in an electric mixer to remove lumps and then transfer to a piping bag.


Assembling
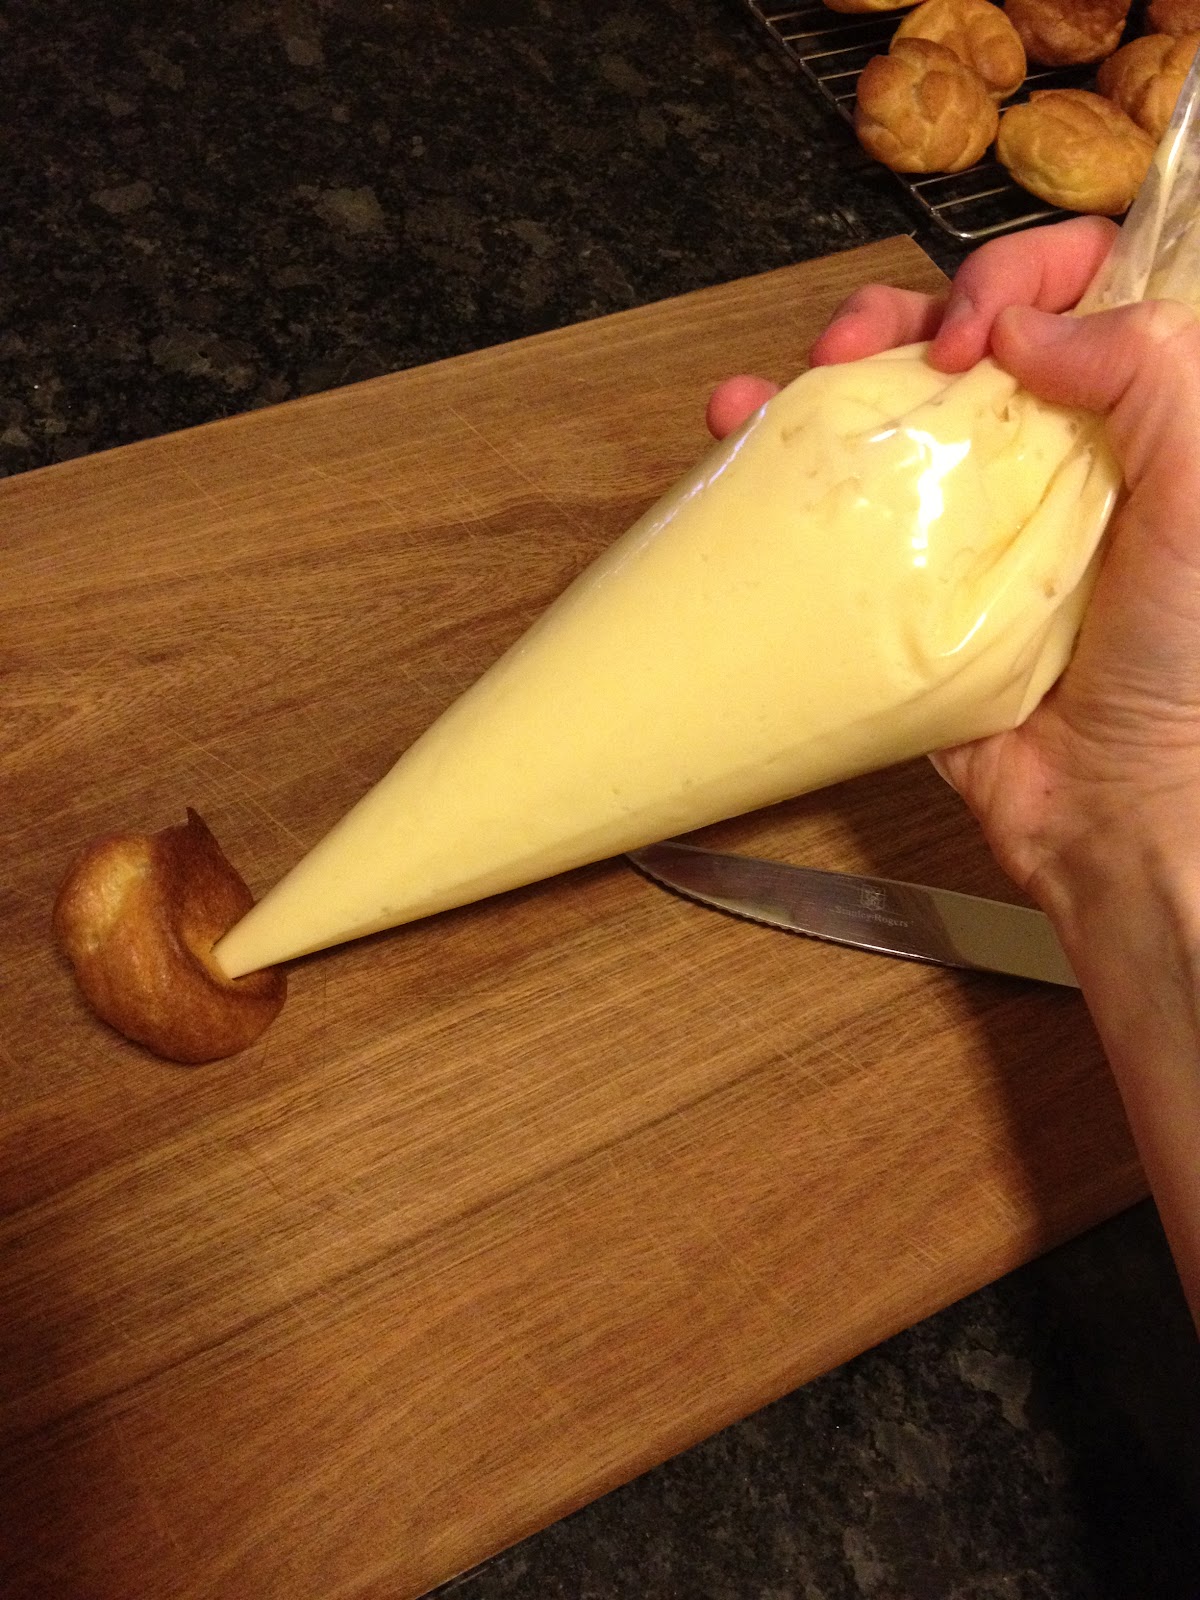
Fill the profiteroles with the pastry cream by using a knife to cut a
small cross in the base of each pastry, then insert the tip of the pastry bag
and fill until it feels heavy and full.


Chocolate Glaze
1. Bring water, sugar and glucose to a boil, then pour over the finely
cut chocolate and stir until smooth and shiny. Use a spoon not a whisk to stir
the mixture as you do not want to incorporate too much air into it.
2. Immediately dip the top of each filled profiterole
into the chocolate mixture and then place on a drying rack to set. If the bowl
of glaze turns hard reheat gently in the microwave.